




24/7 Support
Fast, professional support




















Deploying a rackmount monitor without proper testing can lead to unexpected downtime, installation delays, and costly troubleshooting. Whether you're setting up a new data center, upgrading an enterprise server rack, or deploying equipment in an industrial environment, verifying that your rackmount monitor is functioning correctly before installation is a critical step.
A thorough pre-deployment inspection helps identify shipping damage, hardware defects, display issues, and compatibility problems before the monitor becomes part of a production environment. It also ensures that integrated components, such as keyboards, touchpads, or KVM functionality, perform as expected under real-world conditions.
This guide walks you through the essential checks every IT professional, system integrator, and network administrator should perform before deploying a rackmount monitor.
Installing a faulty monitor inside a populated server rack can be frustrating and time-consuming. Once equipment is mounted, replacing or troubleshooting hardware often requires removing other devices, disconnecting cables, and interrupting operations.
Testing the monitor beforehand offers several advantages:
For organizations managing multiple racks or mission-critical systems, a standardized testing process also improves deployment consistency across different locations.
Preparing the right equipment makes the testing process faster and more reliable. Most checks can be completed using common IT tools already available in server rooms or workshops.
Before you begin, gather:
Having these items ready allows you to verify every major hardware function before the monitor is installed in a rack.
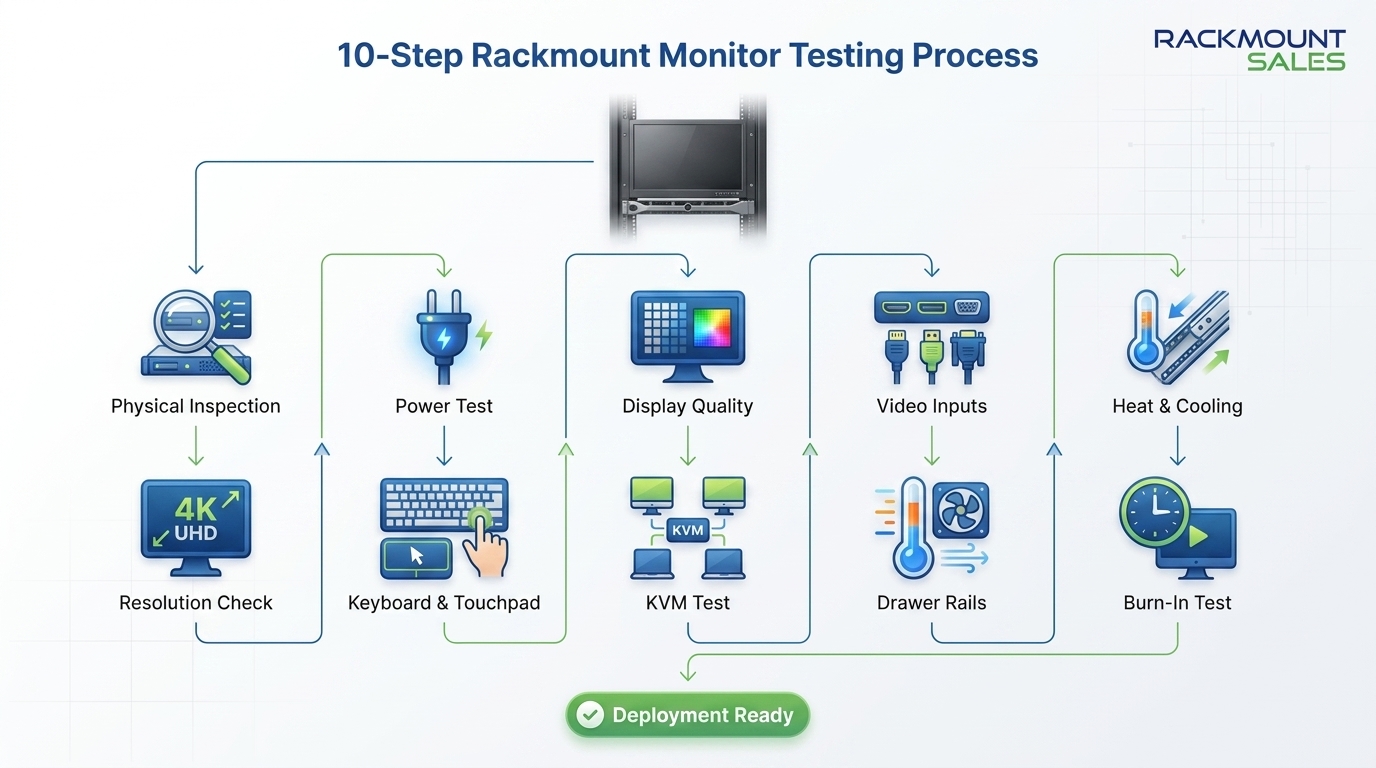
Before connecting power, carefully inspect the rackmount monitor for any visible signs of damage or manufacturing defects.
Start by examining the outer chassis. Look for dents, scratches, bent metal, or cracked plastic components that may have occurred during shipping. Even minor physical damage can affect installation alignment or long-term durability.
Next, inspect the rack mounting ears and mounting holes. They should be straight, secure, and free from cracks or deformation. Misaligned mounting brackets can make installation difficult and place unnecessary stress on the rack.
Move on to the LCD panel itself. The display surface should be clean, free from scratches, pressure marks, or cracks. Inspect the screen under good lighting from multiple angles to identify any imperfections that may not be immediately visible.
If your monitor includes a sliding drawer, extend and retract it several times. The movement should feel smooth without sticking, excessive resistance, or unusual noises. Rails should lock securely in both open and closed positions.
For integrated rackmount console drawers, also inspect the keyboard and touchpad. Check that keys move freely, the touchpad surface is undamaged, and buttons respond normally.
Finally, inspect all external ports, including:
Ports should be firmly attached, clean, and free from bent pins or physical damage.
Completing a detailed physical inspection before powering on the monitor helps identify obvious issues before additional testing begins.
Once the physical inspection is complete, connect the monitor to a reliable power source and perform its first startup.
The monitor should power on quickly without unusual delays. Observe the power indicator LED to confirm that it displays the expected status according to the manufacturer's documentation.
During startup, pay attention to any unusual behavior such as:
These symptoms may indicate internal hardware issues that should be addressed before deployment.
Allow the monitor to remain powered on for several minutes while observing its stability. A properly functioning unit should remain consistently powered without flickering or restarting.
If your rackmount monitor includes internal cooling fans, verify that they operate quietly and maintain consistent airflow without excessive vibration.
Power stability is one of the simplest yet most important checks because electrical faults often become apparent during the first startup.
After confirming stable power operation, evaluate the display itself.
Begin by displaying a solid white background, followed by black, red, green, and blue screens. These simple test images make it easier to identify dead pixels, stuck pixels, or uneven backlighting.
Pay close attention to:
Next, open various applications, text documents, and images to verify overall clarity. Fonts should appear sharp, icons should display correctly, and images should retain accurate colors across the screen.
Viewing angle is another important factor. Observe the display from different positions to ensure brightness and color remain consistent. This is especially valuable in environments where technicians may need to monitor equipment from different angles.
If possible, adjust brightness and contrast through the monitor's on-screen display (OSD) menu to confirm that all controls function properly.
Detecting display quality issues before installation helps prevent unnecessary maintenance and ensures a better user experience once the monitor is deployed.
A rackmount monitor is only as reliable as its ability to communicate with connected equipment. Testing every supported video interface ensures compatibility with both current and future hardware.
Connect the monitor to your test system using each available input individually. Depending on the model, this may include HDMI, DisplayPort, DVI, VGA, or USB-C.
For every connection, verify that:
If your organization uses different server generations, testing multiple interface types can help identify compatibility issues before the monitor reaches the production environment.
Completing these checks ensures that the monitor is ready to integrate seamlessly into your existing infrastructure, reducing the likelihood of deployment delays or connection-related troubleshooting.
After confirming that all video inputs work correctly, the next step is to verify the monitor's native resolution and refresh rate. Running a rackmount monitor at its recommended settings ensures optimal image quality and prevents scaling issues.
Connect the monitor to your test system and open the operating system's display settings. Compare the detected resolution with the specifications provided by the manufacturer.
Things to verify include:
If the monitor supports multiple resolutions, test each one briefly to ensure the display scales correctly without introducing visual artifacts.
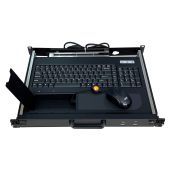
For rackmount monitors with an integrated console drawer, testing the built-in keyboard and touchpad is just as important as checking the display.
Connect the USB cable to your test computer or server and verify that the operating system recognizes both input devices automatically.
Check every major function, including:
A quick typing test can reveal unresponsive or sticking keys, while navigating through menus helps confirm smooth touchpad performance.
Any inconsistent behavior should be addressed before the monitor is installed inside a production rack.
Many rackmount monitors include an integrated KVM (Keyboard, Video, Mouse) switch, allowing administrators to manage multiple servers from a single console.
If your model supports KVM functionality, connect at least two test systems and verify that switching between them works properly.
During testing, check the following:
Operate the KVM continuously for several minutes while switching between systems to ensure stable performance.
If your organization relies on centralized server management, validating KVM functionality before deployment helps prevent unexpected interruptions after installation.
Rackmount monitors with sliding drawers should operate smoothly throughout their full range of motion.
Extend and retract the drawer multiple times while observing its movement.
Verify that:
Poor rail alignment or excessive friction may indicate shipping damage or improper assembly that should be corrected before deployment.
Heat management plays an important role in long-term reliability, especially in densely populated server racks.
Allow the monitor to operate continuously for at least 30 to 60 minutes while observing its operating temperature.
During this period, inspect:
Ensure that ventilation openings remain unobstructed and that adequate airflow will be available once the monitor is installed inside the rack.
One of the most effective ways to identify hidden hardware issues is by performing a burn-in test.
Instead of powering the monitor on briefly, leave it running continuously for several hours under normal operating conditions.
A burn-in test can reveal issues that may not appear during a short inspection, such as:
Many IT teams perform a burn-in test lasting between four and twenty-four hours before deploying critical equipment in production environments.
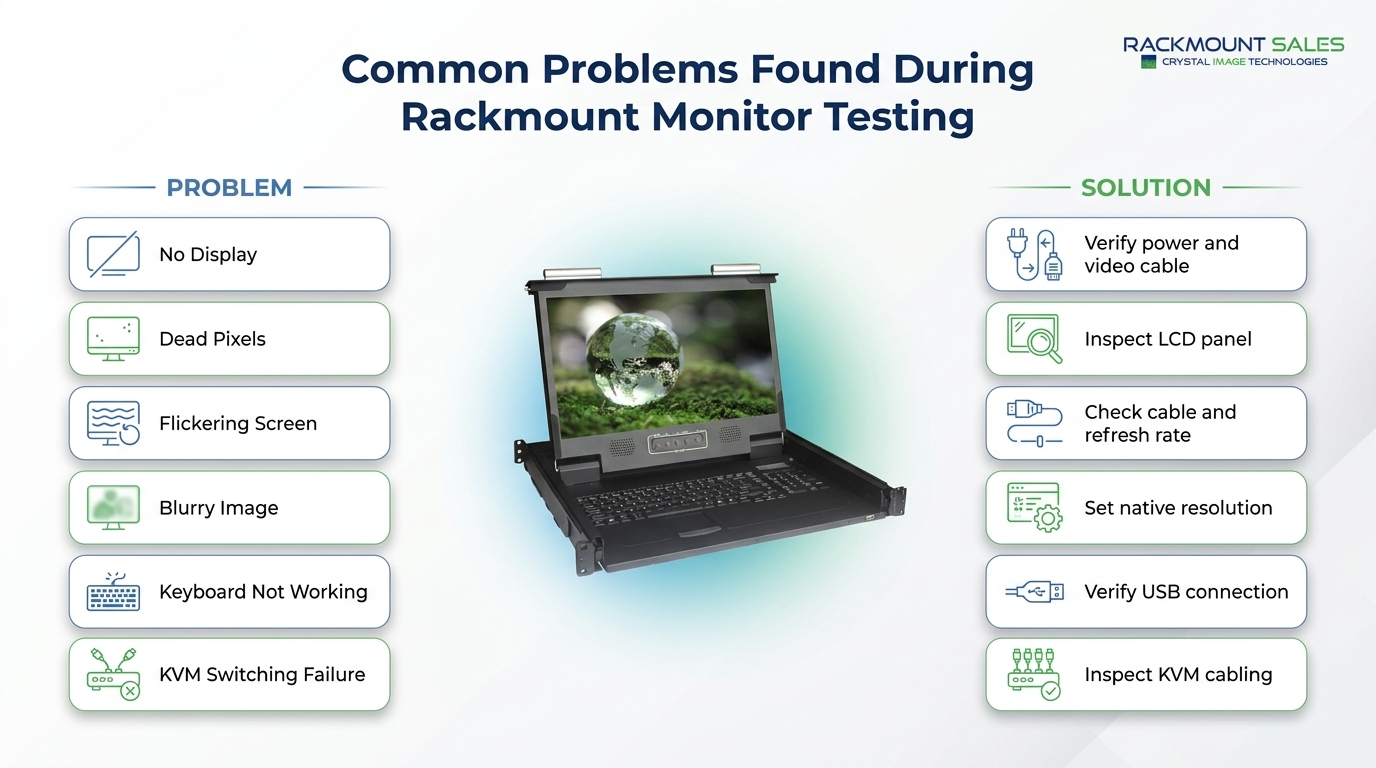
|
Problem |
Possible Cause |
Recommended Solution |
|
No display after power-on |
Loose video cable or incorrect input source |
Verify cable connections and select the correct input |
|
Dead or stuck pixels |
Manufacturing defect |
Contact the manufacturer if covered under the pixel policy |
|
Screen flickering |
Faulty cable or incompatible refresh rate |
Replace the cable and verify display settings |
|
Blurry image |
Incorrect resolution |
Set the monitor to its native resolution |
|
Keyboard not detected |
USB connection issue |
Reconnect the USB cable and reinstall drivers if necessary |
|
Touchpad not responding |
Driver or hardware issue |
Test on another system and inspect the USB connection |
|
Drawer does not slide smoothly |
Rail misalignment or shipping damage |
Realign the rails or inspect for physical damage |
|
KVM switching fails |
Incorrect cabling or configuration |
Verify all KVM connections and test each server individually |
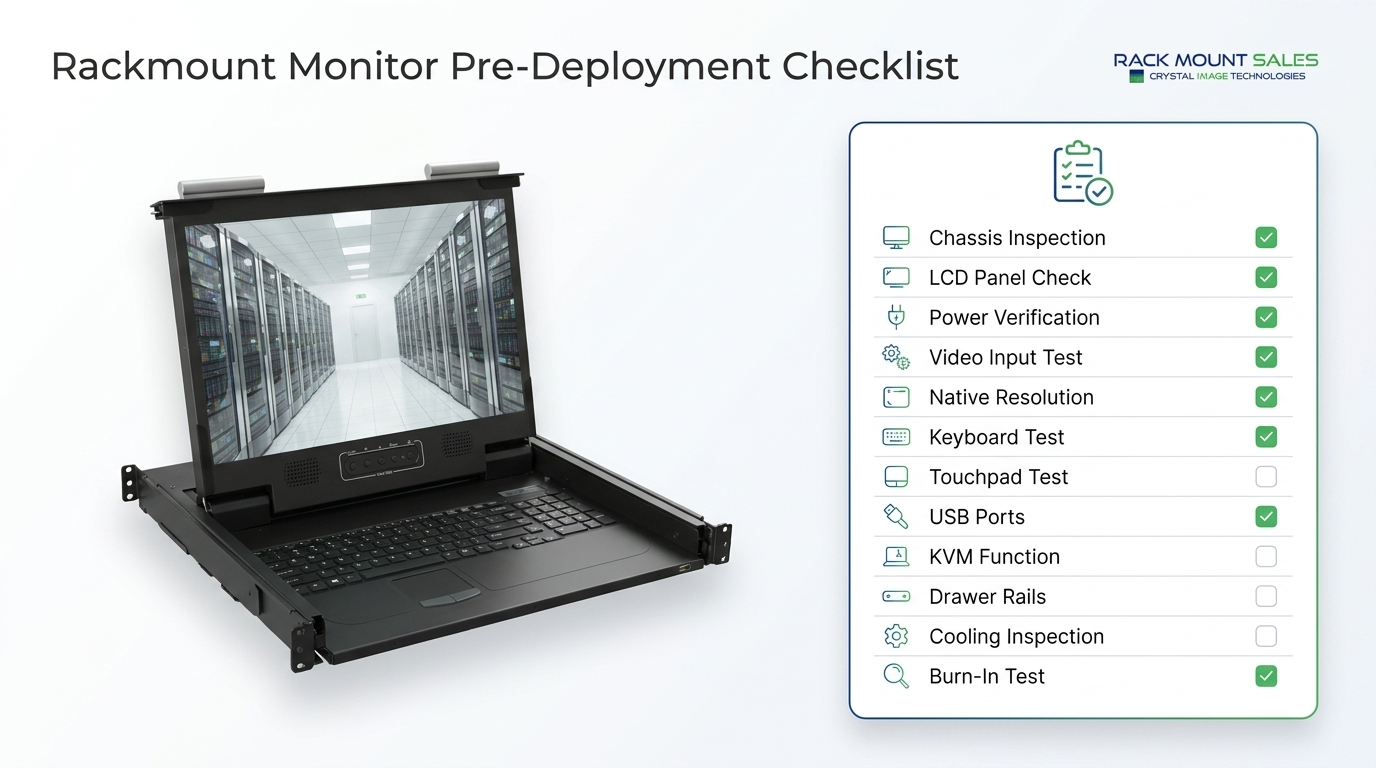
Before installing the monitor into your rack, confirm that each of the following tasks has been completed:
Completing this checklist helps ensure the monitor is ready for reliable long-term operation.
Following a few additional best practices can improve reliability and simplify future maintenance.
These steps help reduce installation time and make ongoing maintenance more efficient.
A basic inspection can be completed within 30 to 60 minutes. However, many IT departments perform a burn-in test lasting between four and twenty-four hours to identify intermittent hardware issues before production deployment.
Yes. Most functional tests, including display quality, video inputs, keyboard operation, and KVM functionality, can be completed on a workbench before the monitor is mounted.
Using the monitor's native resolution ensures the sharpest image quality and prevents scaling problems, blurry text, and distorted graphics.
Yes. Even if your current deployment uses only one connection type, testing every supported input verifies that all ports are functioning correctly and prepares the monitor for future infrastructure changes.
A rackmount monitor is an essential component of many enterprise IT environments, and testing it before deployment is one of the simplest ways to avoid unnecessary downtime and installation delays.
By inspecting the hardware, verifying display performance, testing integrated peripherals, confirming KVM functionality, and performing a burn-in test, you can identify potential issues before the monitor enters production. Whether you're upgrading an existing infrastructure or selecting equipment from Rackmount Sales, following a consistent pre-deployment testing process helps protect your investment, improve deployment efficiency, and maintain reliable server operations over the long term.
Whether you're deploying a single rackmount monitor or equipping an entire data center, taking the time to complete these checks will result in a smoother installation and greater confidence in your infrastructure.

Industrial LCD displays are built for heavy-duty environments like factories, warehouses, and outdoor terminals. They can handle heat, dust, vibration, and long operating hours.
Militarydev411

Downtime costs more than most people expect. When LCD monitor drawers fail inside a rack, teams lose access, waste time, and risk bigger hardware issues. Proper care keeps LCD monitordev411

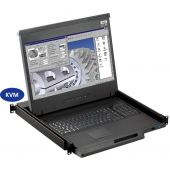
A rack mount monitor with KVM combines display, keyboard, and mouse into a single unit. This all-in-one design lets IT teams access multiple servers without juggling separate devices.dev411
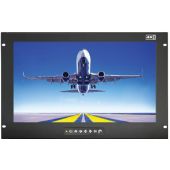
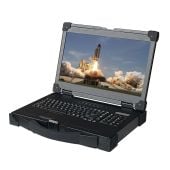
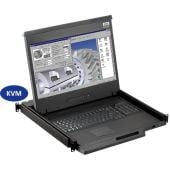

We are so confident you will be satisfied with our products that we offer a 100% satisfaction guarantee


