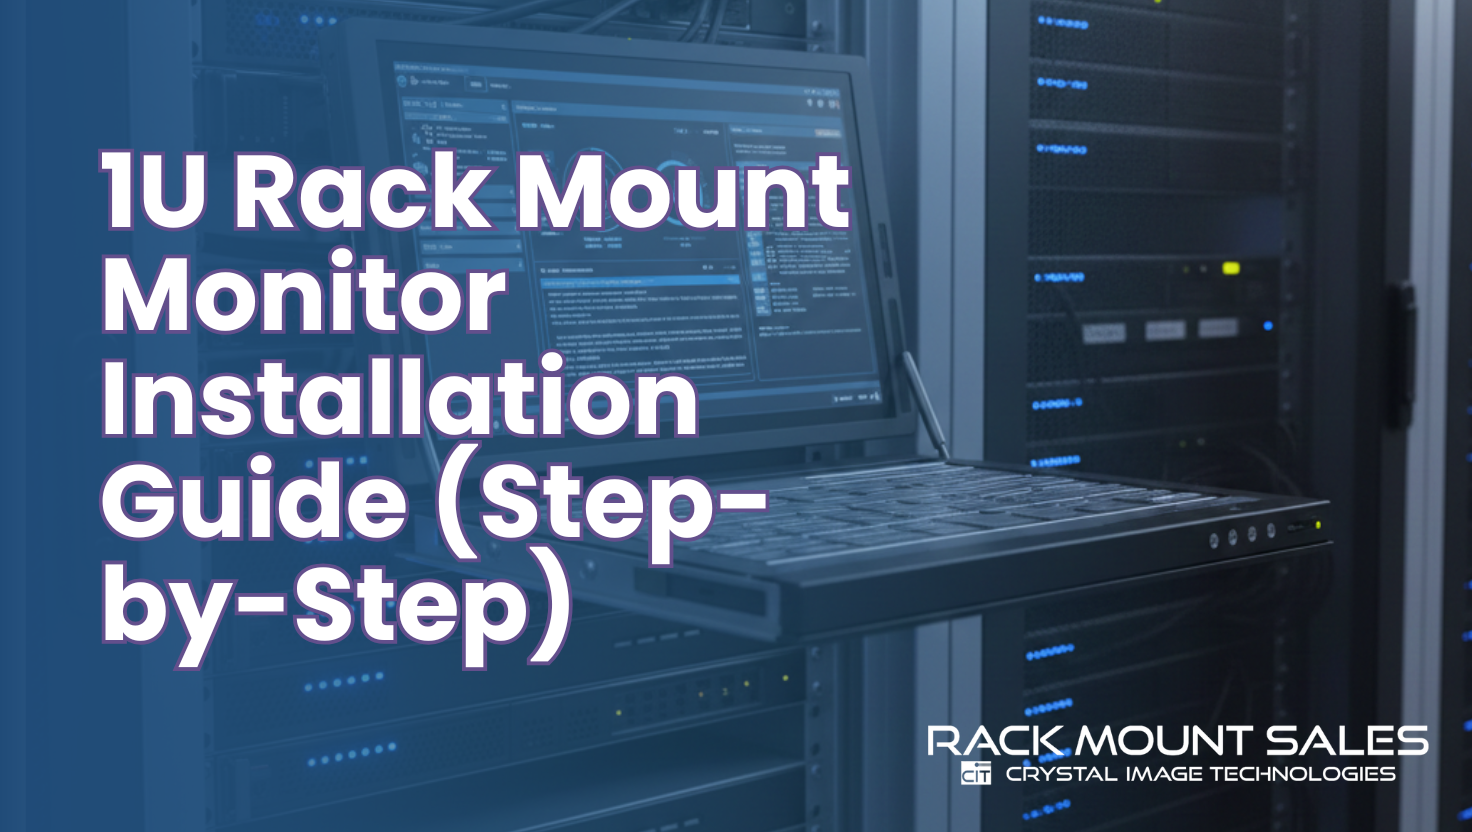
1u rackmount monitor installation guide
-
Posted: November 26, 2025Categories: Blog
 Read more »
Setting up a 1U rack mount monitor the right way saves you time, protects your gear, and keeps your rack clean and easy to manage. Instead of guessing your way through, you can follow a clear, step-by-step process and get a professional-looking setup on the first try.
This guide walks you through everything that actually matters: checking compatibility, installing Rails, mounting the monitor, managing cables, and testing your server rack monitor setup so it works smoothly every day.
Before You Start: Check Rack Compatibility and Monitor Specs
Before you touch a single screw, make sure your 1U rack mount monitor actually fits your rack. Skipping this step is how people end up with misaligned rails, blocked doors, or a monitor that just won’t sit right.
Here’s what to confirm:
- Rack width: Most data center racks are standard 19-inch racks. Your monitor should be designed for this width.
- Available U-space: You need at least 1U of free space at the height where you want to install the monitor.


Recent Posts