1U Rack Mount Monitor Installation Guide (Step-by-Step)


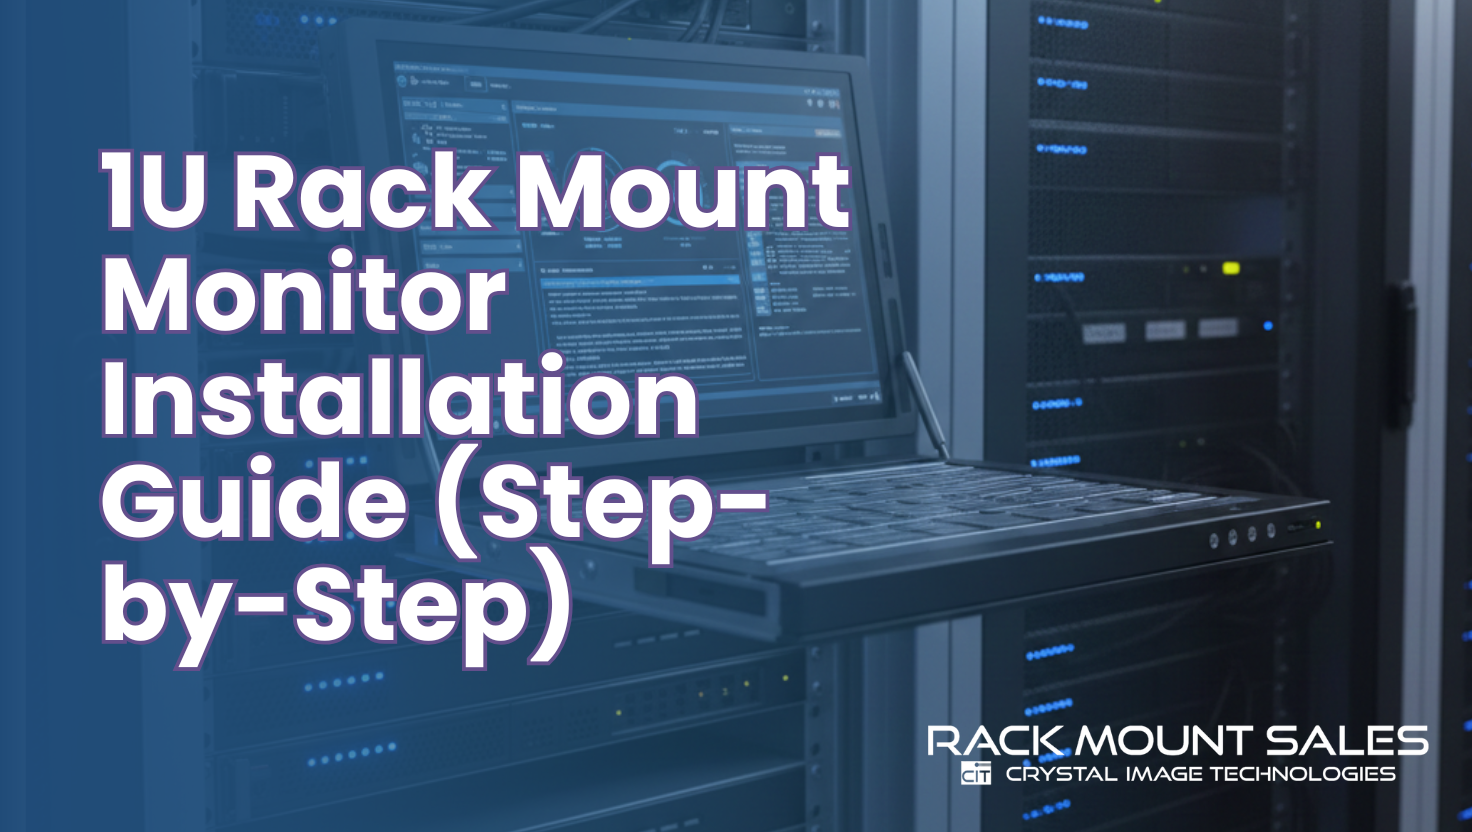
Setting up a 1U rack mount monitor the right way saves you time, protects your gear, and keeps your rack clean and easy to manage. Instead of guessing your way through, you can follow a clear, step-by-step process and get a professional-looking setup on the first try.
This guide walks you through everything that actually matters: checking compatibility, installing Rails, mounting the monitor, managing cables, and testing your server rack monitor setup so it works smoothly every day.
Before You Start: Check Rack Compatibility and Monitor Specs
Before you touch a single screw, make sure your 1U rack mount monitor actually fits your rack. Skipping this step is how people end up with misaligned rails, blocked doors, or a monitor that just won’t sit right.
Here’s what to confirm:
- Rack width: Most data center racks are standard 19-inch racks. Your monitor should be designed for this width.
- Available U-space: You need at least 1U of free space at the height where you want to install the monitor.
- Rack depth: Check the depth in the monitor’s specs and match it with your rack’s usable depth.
- Rack type: 4-post racks are the most common for this kind of hardware. Some 2-post racks may need extra brackets or conversion kits.
- Weight capacity: Make sure the rack and rails can handle the monitor’s weight.
Also, keep the user manual handy. It often shows exactly where to place rails and what hardware is included for your rack-mount monitor installation.

Tools and Hardware You Need for Rack Mount Monitor Installation
Installing a rack device is much easier when you have the right tools ready. You don’t need anything fancy, but you do need the basics.
You’ll usually need:
- Phillips screwdriver
- Cage nuts and rack screws
- Level (optional but helpful for clean alignment)
- Cable ties or Velcro straps
- Flashlight or headlamp if your rack is in a dark area
Many 1U rackmount LCD monitor kits include mounting rails and screws. However, cage nuts often come with the rack, not the monitor, so double-check that you have enough.
Safety reminders:
- Power off nearby equipment if possible.
- Make sure the rack is stable and properly anchored.
- Keep the working area clear so you don’t trip over tools or cables.
Step-by-Step 1U Rack Mount Monitor Installation
This is where you actually get the job done. Take it one step at a time, and you’ll have your 1U rack mount monitor installed cleanly and securely.
Step 1 – Plan the Position in the Server Rack
Don’t just pick a random spot.
Where you mount your rack monitor affects usability and comfort:
- Aim for around eye level when standing in front of the rack.
- Place it where you can easily slide it out and open the screen.
- Avoid blocking critical airflow paths or vents from servers.
- Make sure the front and rear doors can still close once the monitor is installed.
Also think about cable paths:
- Where will power come from? (Usually a PDU or UPS inside the rack.)
- Where will video and USB cables run from the monitor to your servers or KVM switches?
A few minutes of planning here will save you a lot of frustration later.
Step 2 – Install the Rack Rails or Brackets
Most 1U rack mount monitors use slide rails or fixed brackets that attach to the front and rear rack posts.
Here’s how to install them:
- Locate the correct U-space you chose earlier.
- Install cage nuts at the matching U positions on the front and rear posts.
- Attach the rails or brackets using the provided screws.
- Use a level if you want the monitor to sit perfectly straight.
- Make sure both sides are at the exact same height so the monitor doesn’t tilt.
If you feel resistance when sliding the monitor in later, it usually means the rails are slightly misaligned. Take your time and get this part right.
Step 3 – Mount the 1U Rackmount LCD Monitor
Now it’s time to lift and place the monitor.
If it’s heavy or you’re working in a tall rack, it’s safer to have two people for this step.
To mount the monitor:
- Carefully lift the 1U rackmount LCD monitor and align it with the rails.
- Slide it into place along the rails or set it directly onto fixed brackets.
- Align the front mounting holes with the U-space holes on the rack posts.
- Secure the front with rack screws, but don’t overtighten.
- Check that the monitor is:
- Flush with the front of the rack.
- Stable, with no wobble or slant.
If your model has a slide-out drawer, test the sliding motion gently now before attaching cables.

Step 4 – Connect Power and Video/Control Cables
Next, you’ll make the connections that turn your installed hardware into a working server rack monitor setup.
Power:
- Connect the monitor’s power cable to a PDU or UPS inside the rack.
- Avoid using random wall sockets if your rack is already powered internally.
- If the monitor has an external power brick, mount or secure it so it doesn’t hang loose.
Video and control:
Depending on your monitor and servers, you might use:
- HDMI
- DisplayPort
- VGA or DVI (common on older hardware)
- USB for keyboard and mouse
- PS/2 (on older rack consoles or legacy servers)
If your monitor includes a built-in KVM, connect the KVM cables to the appropriate servers or to a KVM switch. Keep everything labeled if you’re connecting multiple machines — it makes troubleshooting much easier.
Step 5 – Cable Management for a Clean and Safe Setup
Good cable management is not just about looks. It prevents disconnections, reduces strain on ports, and makes maintenance faster.
Simple cable management tips:
- Route cables along the sides or rear cable channels of the rack.
- Use Velcro straps or reusable ties instead of permanent zip ties where possible.
- Keep power and data cables separated when you can to reduce interference.
- Leave enough slack so the monitor can slide out and open fully without pulling on cables.
- Avoid tight bends, especially near connectors.
A clean cable layout also helps with airflow, making your cooling more efficient.

Step 6 – Power On and Test the Rack Mount Monitor
Now it’s time to see everything in action.
- Turn on the PDU/UPS if it was off.
- Press the power button on the 1U rack mount monitor.
- Make sure the power LED lights up.
- Use the on-screen menu to select the correct input source (HDMI, DP, VGA, etc.).
- Confirm that:
- You see video from the connected server or KVM.
- The keyboard and touchpad (if part of a rack console) respond correctly.
- The screen resolution looks correct and readable.
If something doesn’t work, don’t panic — the next sections cover common issues and how to fix them.
Server Rack Monitor Setup Best Practices
Once your rack-mount monitor installation is complete, a few simple decisions can make everyday use smoother and extend the life of your gear.
Choose the Right Height and Orientation
- Place the monitor in a comfortable viewing position so you don’t have to bend or stretch.
- Avoid putting it too low in the rack where you’ll need to crouch every time you use it.
- Make sure the monitor can slide out fully and tilt if it has that feature, without hitting doors or panels.
Cooling and Airflow Considerations
Even though 1U rack mount monitors are slim, they still take up space in your airflow path.
- Don’t wrap cables tightly over vents or server exhausts.
- Check that front-to-back airflow in the rack is not blocked.
- After installation, monitor temperatures briefly to confirm nothing is overheating.
Security and Access Control
In shared or high-security environments, you may want to limit who can use the 1U rack mount monitor:
- Use locking rack doors if available.
- Restrict physical access to the rack room or data center.
- Enable password protections or login controls on connected systems.
Common 1U Rack Mount Monitor Installation Mistakes to Avoid
You can skip a lot of headaches by avoiding a few frequent mistakes:
- Mounting the monitor without checking rack depth or weight capacity.
- Misaligning rails so the monitor sits crooked or jams when sliding.
- Over-tightening screws and damaging threads or rails.
- Ignoring cable strain relief and leaving tight, stressed connections.
- Forgetting to test all input sources and ports before closing up the rack.
Think of installation as a one-time job that affects years of use. A few extra minutes of care now will pay off later.
Troubleshooting Rack Mount Monitor Issues After Installation
Even with a clean rack-mount monitor installation, small issues can show up after the first power-on. Most of them are easy to fix if you know what to look for.
No Display or “No Signal” on the Screen
If the screen turns on but shows “No Signal” or stays black:
- Make sure the power cable is firmly plugged into both the monitor and the PDU or UPS.
- Confirm the power switch on the monitor is actually on.
- Check the input source in the monitor menu (HDMI, DP, VGA, etc.). Many monitors default to the wrong input.
- Reseat the video cable at both ends — monitor and server/KVM.
- Try another cable or another server/Laptop to rule out a bad port.
If another device works fine on the same input and cable, the problem is likely with the server or graphics output.
Keyboard or Mouse Not Working on a Rack Mount Console
For a 1U rackmount LCD monitor with integrated keyboard and touchpad:
- Confirm the USB or PS/2 plugs are fully seated in the correct ports.
- If you’re using a KVM switch, make sure:
- You’ve selected the right channel or port.
- The KVM is powered and working.
- Try connecting the console directly to a single server to see if it works without the KVM.
- On some systems, you may need to:
- Check BIOS/UEFI settings to ensure USB keyboard and mouse support is enabled.
If input devices work in BIOS but not in the OS, you may be dealing with a driver or OS issue rather than a hardware problem.
Slide Rails or Drawer Not Moving Smoothly
If the 1U rack mount monitor sticks, jams, or tilts when you slide it:
- Pull the monitor back out and check the rails for:
- Uneven mounting
- Bent metal or cross-threaded screws
- Make sure both sides are installed at the same U height front and back.
- Tighten any loose screws, but don’t overtighten.
- Only use lubricant if the manufacturer recommends it — some rails are not designed for added grease or oil.
Once fixed, the monitor should slide in and out in a straight and smooth motion.
When to Upgrade or Replace a 1U Rack Mount Monitor
Even a well-installed 1U rack mount monitor won’t last forever. Over time, displays age, ports become outdated, and your needs may change.
Here are some signs it might be time to upgrade:
- Dim or uneven brightness that won’t improve with settings adjustments.
- Dead pixels, flickering, or image retention that distracts from your work.
- Only older ports like VGA or DVI, while your newer servers use HDMI or DisplayPort.
- No integrated KVM, while your environment would benefit from one.
- You’re standardizing across your racks and want consistent, modern hardware.
Modern 1U rackmount LCD monitor models offer:
- Higher resolution and sharper text
- Better energy efficiency
- LED backlighting and improved viewing angles
- Options with built-in KVM switches or multi-input capability
If you’re refreshing your data center or building a new rack, it can be smarter to move to newer models instead of trying to keep very old hardware alive.
For dependable, data-center-ready options, you can explore dedicated rack solutions from trusted providers. For example, you might visit Rackmount Sales to compare different 1U rack mount monitor designs and find one that matches your rack depth, port needs, and usage style.
Final Thoughts on 1U Rack Mount Monitor Installation
A clean and secure 1U rack mount monitor setup comes down to three things: planning, proper mounting, and smart cable management.
When you start by checking rack compatibility and tools, you avoid surprises halfway through. Installing rails at the correct height, aligning the monitor carefully, and tightening hardware just enough gives you a stable, professional fit. Thoughtful routing of power and data cables keeps your rack safe, tidy, and easy to work in.
Once installed, regular testing and small checks — like verifying input sources, watching airflow, and keeping cables organized — help your rack mount monitor installation stay reliable for years. With a simple, step-by-step approach, even someone new to rack hardware can mount, connect, and use a 1U rack mount monitor with confidence.
FAQs – 1U Rack Mount Monitor Installation
1. How long does it take to install a 1U rack-mount monitor?
For most setups, installing a 1U rack-mount monitor takes about 30–60 minutes. The time mainly depends on how tidy you want your cable management to be and whether your rails line up correctly on the first try. With proper planning and tools ready, the process is quick and straightforward.
2. Do I need special rails for a 1U rackmount LCD monitor?
In most cases, yes. Many 1U rackmount LCD monitor models come with their own rails or brackets designed for that exact unit. Using generic rails can cause alignment issues or poor support. Always check the hardware included in the box and follow the manufacturer’s mounting instructions.
3. Can a 1U rack-mount monitor work with any server rack?
A 1U rack mount monitor is usually made for standard 19-inch racks, which are common in data centers and network rooms. As long as your rack is standard width, has enough depth, and can support the weight, it should work. Some 2-post or shallow racks may need extra brackets or adapter kits.
4. What is the ideal height for a rack-mount monitor in a server rack?
The best height is usually around eye level when you stand in front of the rack. This reduces neck strain and makes it more comfortable to type on the built-in keyboard if your monitor is a console type. Many admins mount the monitor somewhere in the middle of the rack so it’s easy to reach without bending or stretching.
5. How do I manage cables for a rack-mount monitor to keep the rack clean?
Good cable management starts with planning your cable paths. Route cables along the sides or rear cable channels, secure them with Velcro straps, and keep power and data lines separated when possible. Leave enough slack so your 1U rack mount monitor can slide out without pulling on connectors. A neat layout is easier to maintain and helps airflow stay smooth.